background

Sunday, August 4, 2013

Chasing Butterflies, part I

While flipping through a magazine I came upon an article that featured the set of a period picture set in Victorian England. I can't remember what movie it was or even what magazine, but what caught my eye was in the background of one of the pictures, sitting on a side table was a bell jar filled with amazing blue butterflies. I really wanted my own bell jar of butterflies, but since I'm a bit uncomfortable with the idea of having a bunch of dead animals under glass, I decided to make a batch of hand-made butterflies to mount.

Using stiff paper for wings was a pretty obvious choice, so armed with some scraps of BFK Reeve paper and a couple of books on butterfly identification, I drew some templates for the wings. I figured out the patters for the front and backs of the wings that I wanted, and drew the designs in colored pencil.


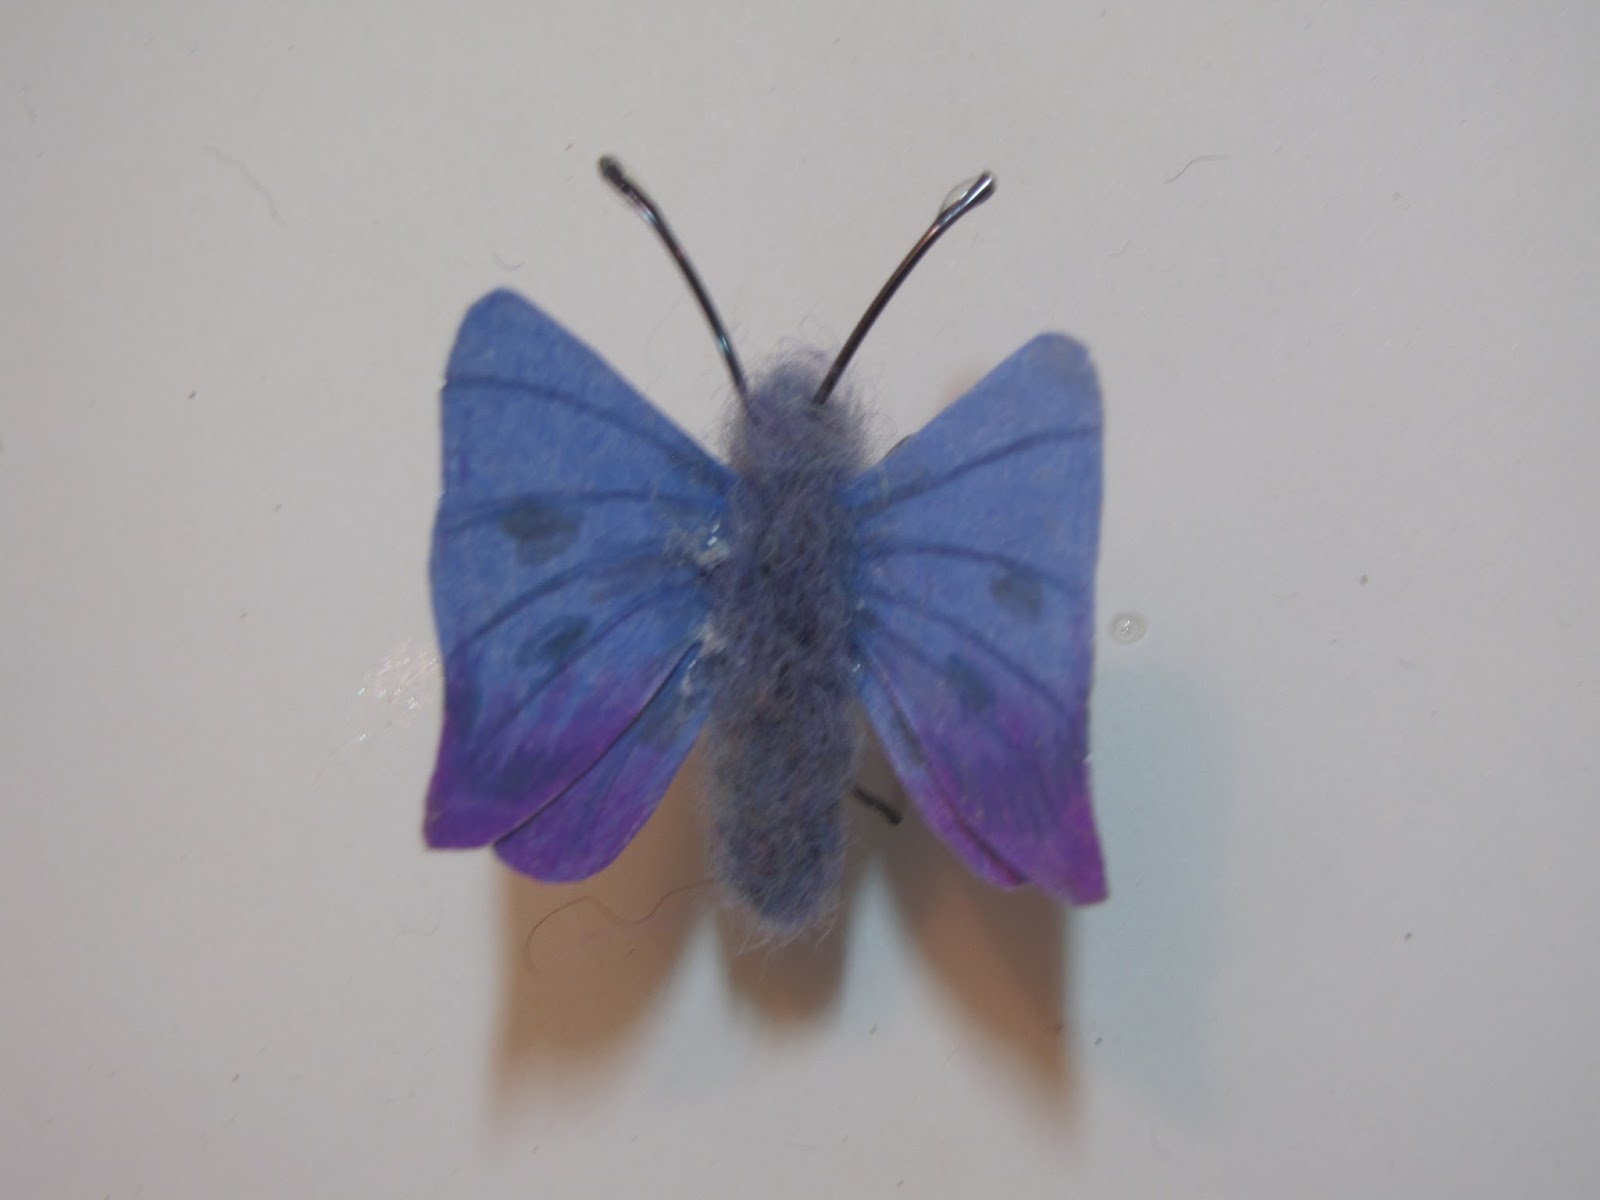
I wanted the bodies to be dimensional, so I decided to make them out of needle-felted wool.  I started by making a little cylinder of the wool with leaving a bit of un-felted wool at one end.

I then folded the loose roving over the wings and felted the wings into the roving.


When the bodies were done I added wire for the legs and antennae. To finish the butterflies I applied a liquid plastic to the ends of the antennae.

I liked them overall, but they weren't quite right so I made a second batch. I'll show you those in part II!


Thursday, April 11, 2013

Early Spring Projects


I've been wrestling with the end of winter/early spring "blehs" a bit lately, so I took a break from making new patterns and animals for my Etsy shop (some of which will be featured in another blog post soon!) to make some stuff just for the fun of it.

The first project is a little fox doll. One of my good friends gave me a burnt orange felted sweater, so how could I resist making a little doll out of one of the sleeves? I felted white roving on the end of her tail and black roving on the end of her long nose, then sewed on stacked buttons for her eyes. After she was finished, I made a cute patterned cotton shirt with working buttons and a lace collar for her. 


To finish her outfit I made a heavy cotton jumper with a soft satin ribbon waist and shoulder straps. This also comes off by slipping over her head. She measures about 12 inches tall and I'm quite happy with the way she turned out!


Also:

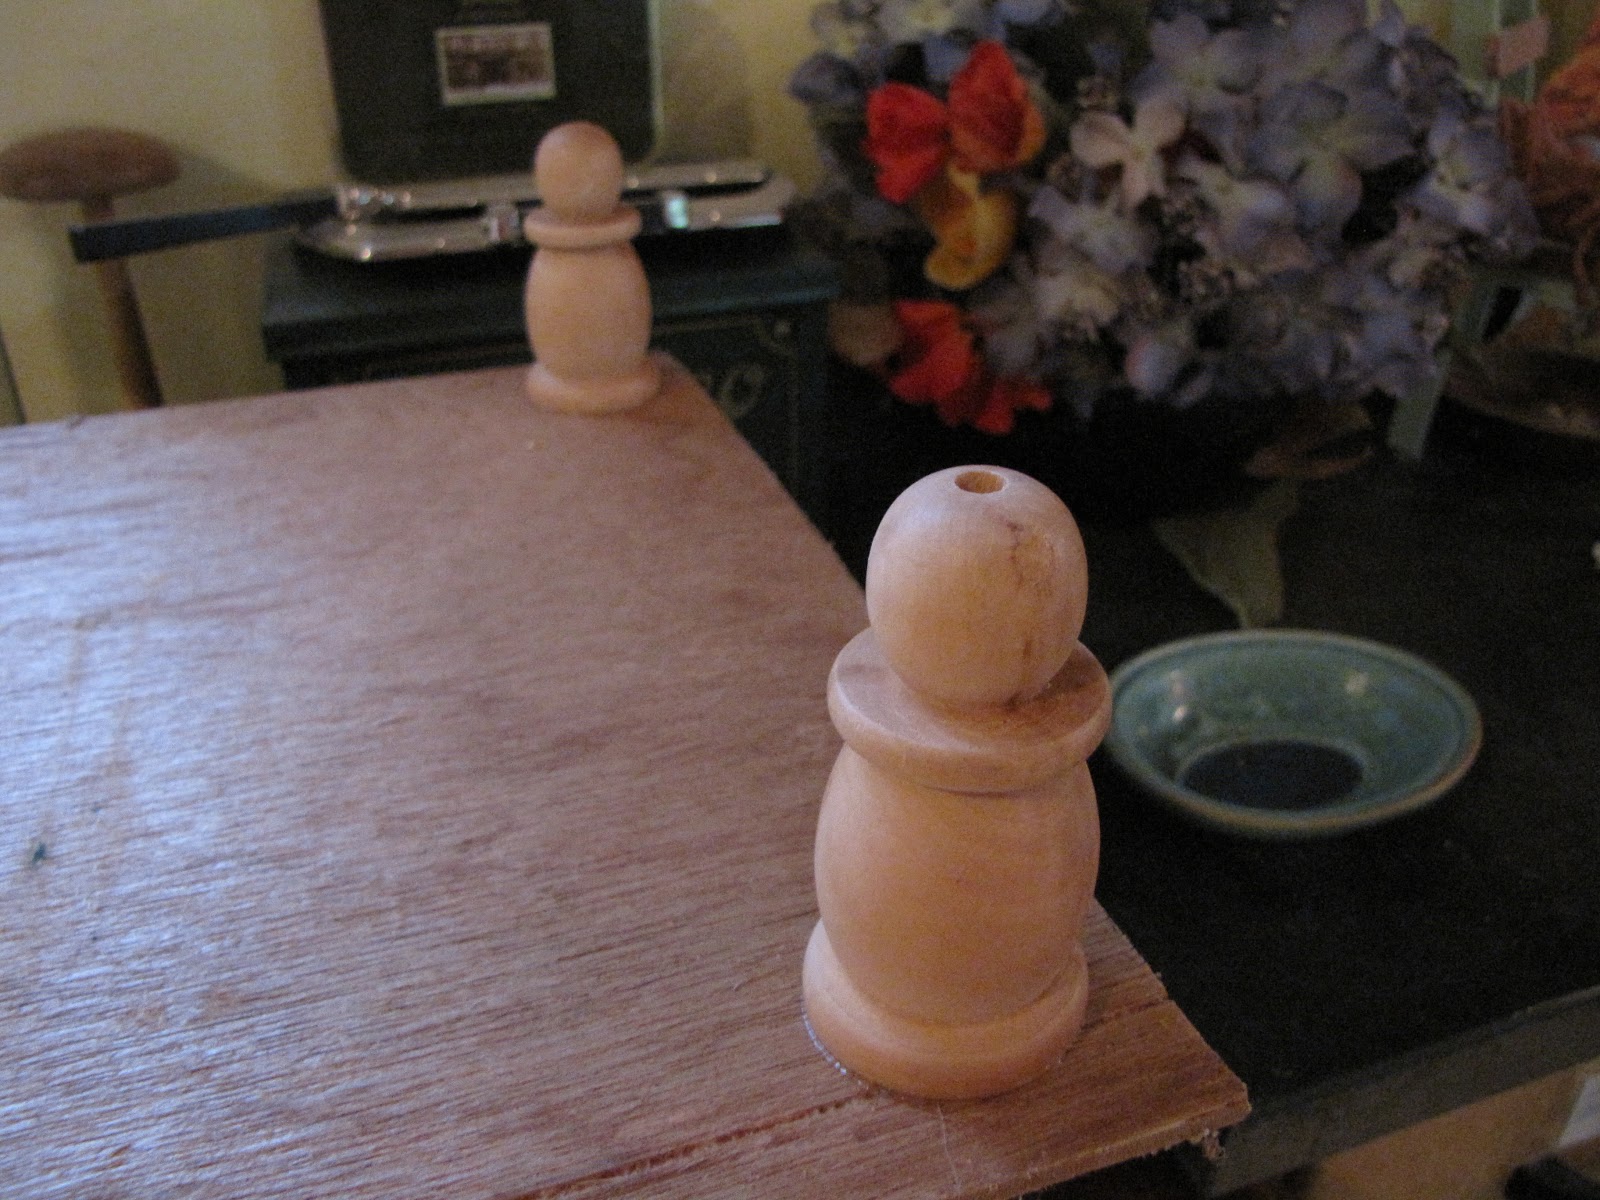
Earlier this week I found a great deal on a blu-ray player and I wanted to have it sit under my TV. This hadn't been an issue in the past, because my TV has a build-in DVD player, but it stopped working (it's honestly not a very good TV, but it works!). My TV is not very large so I figured I could make my own stand for it with a minimum of trouble. I just happened to have a piece of plywood that was the perfect size (how cool is that?) for the top, so all I had to do was dig around my collection of "cool wooden objects" to find something for the legs of the stand. I lucked out once again by finding four tassel forms!

For my first step I attached the legs to the top:


Here's a detail of the tassel form legs:

Then after choosing my palette, I painted the top and legs:


Here are the legs and bottom:


And: TA-DA! Here it is at work in my studio:


Sunday, February 24, 2013

The Magical Island

 January was an exceptionally difficult month month for me, mostly due to losing an aunt and our kitten within less than a week of each other, but because of a fluke of excellent timing I was able to get away at the end of the month. And what a getaway it was! I was lucky enough to be able to go with my mom to Ireland to visit my brother and his family.

I think that Ireland is always a wonderful place to visit; the people are friendly, the temperate climate is a welcome getaway from the harsh highs and lows that we endure in Michigan, and it's always great to see my family there. This time was especially nice, though. To be able to reconnect with some old friends and make new ones, to visit places that both familiar and unfamiliar, and to just leave my grief and worries at home and be in a totally different place for a while was just what I needed!

The day after our arrival my mom and I visited the Rudolf Steiner- inspired daycare that my sister-in-law co-runs. Even when the space is full of small children it is surprisingly quiet and peaceful. While we were there we helped make St. Bridget's crosses for the children to take home.


One day we took a drive up the coast of Connemara, which neither my mom nor I had been before. It was a beautiful, clear day and we had a really wonderful time. I was surprised at how rocky the countryside was. I've been to the Burren several times, but the rocks here were very different; giant, sharp-looking boulders rather than the worn, soft-looking Burren stones. We took a walk on the beach during one of our rest stops and I had a great time gazing at the seaweed-filled tide pools. 


The oldest church that is still in use in the British Isles is located in Tuamgraney, a town very close to where my brother lives. The cemetery in the churchyard is filled with history.


Sometimes I find back yards more interesting than front ones. This was taken on one of our daily walks around the town.


Unlike Michigan, Ireland is dotted with flowers even in winter. This was an exceptionally large heather on the edge of someone's garden. I'm sure their yard is a showplace in the summer! Hopefully I'll be able to see the whole garden in full bloom sometime soon...


Monday, January 21, 2013

Bonnie Lassie Mouser

If you regularly read my blog you will remember that last summer I adopted a new kitten who I named Bonnie Lassie Mouser (otherwise known as Bitty Kitty). As a professional pet-sitter, a lifetime animal lover, and a regular volunteer at a no-kill cat shelter (which is where Bonnie came from) I have known many, many cats, and I can honestly say that Bonnie was one of the most special cats that I have had the pleasure of knowing. 

Unfortunately, last week I found out that she had an undiagnosed fatal illness (she was tested before I adopted her, but apparently something was wrong with that test and it was a false negative). Looking back on it she had been showing signs of illness for a couple of weeks, but I just thought that she had a less fatal illness of some kind. This morning she let me know that she was ready to move onto the Next Step of death, and I had my wonderful veterinarian help Bonnie pass over. 

Here she is at the shelter at around 7 weeks old; an irresistible scamp.  

Within two weeks of moving in with us, she quickly became an essential part of our household, especially my studio.


She had an amazing appetite for life, and catnip.


And she was a great help when it came to photographing products for my Etsy store.

By the time she was eight months old she had started growing to an impressively sized cat.

 She was happy to be my constant companion, and I felt blessed to have shared her short life with her.
She will always have a very, very special place in my heart. Rest in Peace, my dear, dear friend.
? April 2012- 21 January, 2013

Wednesday, January 2, 2013

Christmas Presents 2012

I didn't make as many Christmas presents this year, but I think that the ones I did make turned out well. One of my sister-in-laws, my mom, and my cat Rory all got knitted projects out of some wonderful lavender mohair yarn that I got at a resale store (MAJOR score!). Of course, I neglected to take pictures of them before I gave them away...

I did, however, take pictures of some of the other gifts I made!

My sister and mom received needle-felted projects; for my mom I made a little felted version of Bonnie kitten (who she's totally in love with).

I made a mermaid to add to my sister's collection, and a shadowbox to go with it.

Here's another view of the box:

And a view of the back of the doll. I made her hair from pieces of my first attempt at spinning (it didn't go very well, but I saved the half-spun roving for just such a project).

I made a very cozy little quilt out of cotton flannel for the cats (it's the size of a throw blanket). The colors aren't ones that I would normally choose, but one of the fabrics had lucky cats all over it and I couldn't resist building the whole quilt around it- the blanket IS for the cats, after all! 
Here's Bonnie enjoying it:


I also made a little Harry Potter for someone I know who's a huge fan. 

Of course I'd never sell little Harry Potters in my Etsy store because of copyright infringement, but it turned out pretty darn cute if I do say so myself!

Thursday, November 22, 2012

How to Make a Critter Sack

Today being Thanksgiving I realized how thankful I am to share my home with a variety of wonderful animal companions. So as a tribute to them I thought I'd give everyone who shares their home with a small animal or bird (and who can sew) a present and share the pattern I created to make a critter sack.

The instructions are for a small critter sack, which is the perfect size for finches and small parrots (such as parrotlets, lovebirds, or those of the brotogeris species). It's also the right size for sugar gliders, "pocket pets" like gerbils and hamsters, small lizards and snakes, and single rats. But with the right math (basic geometry) the pattern can be made large enough for ferrets, rabbits, iguanas, and even cats and small dogs.

If you'd like to make this you will need to know two easy stitches: a running stitch (which is also known as a straight stitch; it's usually first stitch you learn to sew) and a basic blanket stitch (you can get fancier if you want, though).

To make this you will need:

A couple of sheets of paper

A pencil

Tape

Scissors (paper and fabric)

A piece of fabric that is at least 7 1/2 inches tall and 19 inches long (I recommend polarfleece) *

Pins

Embroidery floss

Embroidery needle

Optional items include: 

Ribbon

Thread

Regular needle

String


* A note about the fabric: you will want something that is durable, machine washable, fairly thick, and stretchy. Polarfleece is easy to get in the US, comes in over a thousand colors and patterns, and often goes on sale- so it's cheap. Cotton fleece is a wonderful natural alternative- if you can find it, but t-shirt cotton is much too thin for this project.

To start:

1). Using the paper and pencil, draw a circle that is 4 1/2 inches across (I found that a large pumpkin can is 4 in. across, so I used that to make my circle. If you do that, you just have to cut the fabric about 1/4 inches larger than the paper circle, no big deal), then a rectangle that is 7 1/2 inches X 13 3/4 inches (THAT'S where the tape and the extra sheet of paper comes in- if your paper is too small, simply add another piece from a second sheet to make up the difference and tape them together).


2). Cut out the paper pattern and pin to the fabric.

3). Cut  the fabric around the pattern.


4).  Using the embroidery floss and needle, sew the circle to the LONG end of the rectangle with a basic blanket stitch (I double the floss for extra durability). Remember to leave a 1/4 inch at the end of the rectangle when you start sewing; this will enable you to sew the two ends of the rectangle together. If the rectangle is a little too short or two long, don't worry! If it's too long you can trim off the end, and if it's too short you can stretch the fabric to fit, or sew a pleat into the circle if you have to- your pet probably won't care.


5). When you reach the end of the circle, continue stitching up the short ends of the rectangle so that it forms a tube. Tie it off at the top.


6). Cut a hole just large enough for your animal to fit into (for most animals, that's a little larger than their head) at about the center of the tube opposite the seam (so if you lay it flat, cut the folded edge that is NOT sewn, at about the middle of the height of the fold).


7). Now is the time that I like to embellish it. For the sample bag that meant sewing ribbon just above the stitching around the bottom of the tube as well as around the opening of the hole (if the hole stretches while you're sewing, simply gather the ribbon to retain the hole's original size- I thought the gathering was cute, and so I stretched the hole on purpose). If you choose not to add ribbon, you should sew around the hole opening with a blanket stitch to keep the hole from stretching out.


8). Time to shut the tube: Make a running stitch all around the tube about 1/2 inch below the top using large (about 1/3- 1/2 inch) stitches, then pull the fabric along the thread so it's gathered as tight as you can get it (gathering as you go helps). Tie it off.


9). Almost done! Now you need to sew the ties on top so you can hang the bag. For this I used ribbon that was doubled over and sewn shut, but you can use fairly heavy string or strips of the fabric that you used if you'd rather. I cut mine about 5 inches long, but that's just my preference; just remember to make them long enough to go through the bars of your animal's cage (or around a branch or something) and be able to tie the ends together to secure it. Sew them- with the doubled embroidery floss- about halfway between the front and back (between the back seam and the hole) on either side of the top just below the gathered seam. I sewed about a half inch of ribbon to the bag and used a ton of stitches so it was very secure.

Now it's done and ready to use!


You could embroider patterns or a monogram on the outside if you liked before you stitched it together, or you could put a different fabric on the inside (just remember to keep it practical and safe- animal's claws can get caught on loose threads, and don't add any beads or anything that your companion might chew and/or swallow). The beauty of this pattern is that it's really easy to customize to your taste and/or needs.


Monday, October 22, 2012

October Sale

I'm having a SALE on everything in my Etsy shop! Enter the code "treat" to receive 15% off your total purchase. But hurry- the sale ends on Halloween!

The sale includes:

Felted wool pillows.

Little hand-sewn felt animals and fairy folk.

Potent and delightful little wool catnip toys.


One of a kind needle-felted and beaded pocket dragons.


And of course hand-made Halloween decorations!

There are a ton of great gift items- come and check it out! http://www.etsy.com/shop/sarangus?ref=seller_info